Finishes and Notching
with
Tom O'Shea
In this video Tom discusses how to prepare and notch your recycled timber. Continuing on from the last video, make sure you have a nice smooth accurate squarely cut timbre cut to length ready to notch. You will need four cross braces and four table legs. The cross braces will be notched. The next video discuss the final touches and assembly of an original table.
Materials
-
Recycled timber already prepared (see previous video for instructions)
-
120 grit sandpaper
-
180 or 240 grit sandpaper
-
Sanding block
-
Aris hand plane (optional)
-
Drop saw
-
Clamp
-
Rag
-
Coating such as beeswax
-
Scrap timber
Finishes and notching
Instructions
Sanding and arising
-
Start with 120 grit sandpaper and sanding block
-
Track pressure and number of stroke - 3 or 4 back and forth
-
Check for grain and surface
-
Repeat on all sides, being mindful at either end – keep pressure even over length
-
Use 180 or 240 grit sandpaper
-
Repeat on each side
- Use aris plane or sandpaper to aris edges and end (be conscious of pressure)
Coating
-
Apply coating thinly with a rag. Tom uses beeswax mixed with Linseed oil.
-
Buff with a dry rag
-
[Optional] Add a second coat the next day
Notching - Test Cutting
-
A drop saw and scrap timber is needed for this step
-
Mark on side of test timber to get depth of cut. Tom measures 10mm.
-
Hold drop saw steady and bring gauge down to height
-
Take your time and double check before cutting
-
Put on safety gear
-
Make the first cut with the drop saw
- Measure the cut and adjust the depth of the saw as needed
Notching - cutting a template
-
Use a ‘sacrificial’ piece of timber as a template for the notches
-
On your template set up depth guide as done with test piece of wood
-
Set up the template timber on the drop saw - so you will be cutting inside the marked area
-
Clamp a scrap piece timber in place as a ‘stopper’
-
Put on safety gear
-
Cut a small line inside the marked guide
Tom uses beeswax mixed with Linseed oil - Apply coating thinly with a rag
Check the cut to make sure it’s correct and make any adjustments needed -
Make a full cut
Tom uses beeswax mixed with Linseed oil -
Mark a guide line on the template that will fit the project timber when notched
- Set up the drop saw and move the clamped wood as before
- Make sure your safety gear is on
- Make a small cut
Check the cut to make sure it’s correct - Make a full cut
- Complete cutting the notch by moving the timber a small amount at a time to cut out the area between the two cuts
- Test the fit
If the fit is too tight, repeat the clamping process and cut just a small amount of timber
Cutting Your Final Project
-
Repeat this process on your actual project timber
Using your template as a guide and your previously set up drop saw -
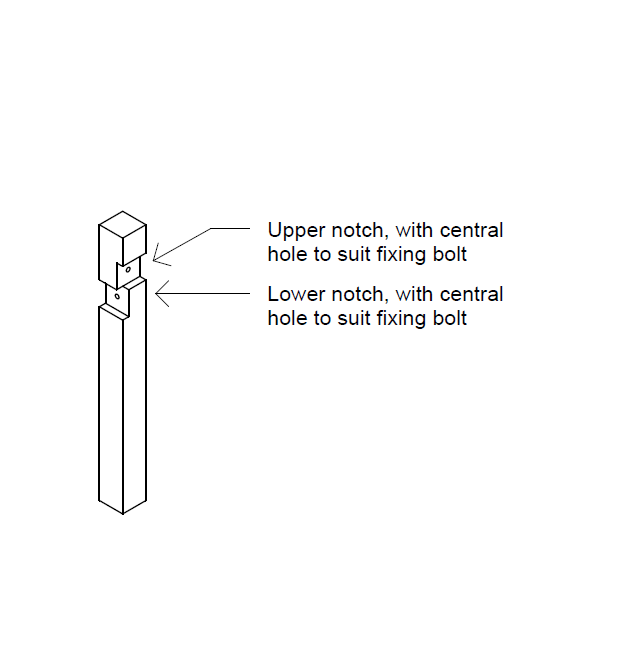
Each cross brace will have two sets of notches
One on the side of the cross brace timber, then the other directly underneath on the next side.
See image above and diagram on next page -
Repeat this process for all cross braces
Do multiple dry run fittings to keep track of notches
Diagrams
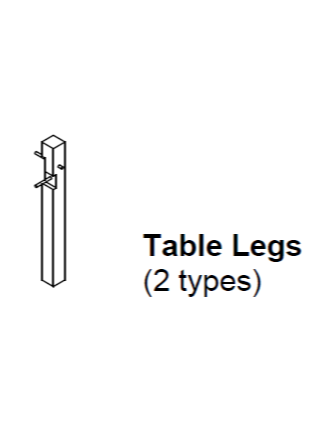
Table legs diagram including notch placement.
The next session covers all parts and assembly of the table.
Click on the image to view the image in original resolution.