
Book Art and Folding
with
Adele Outteridge
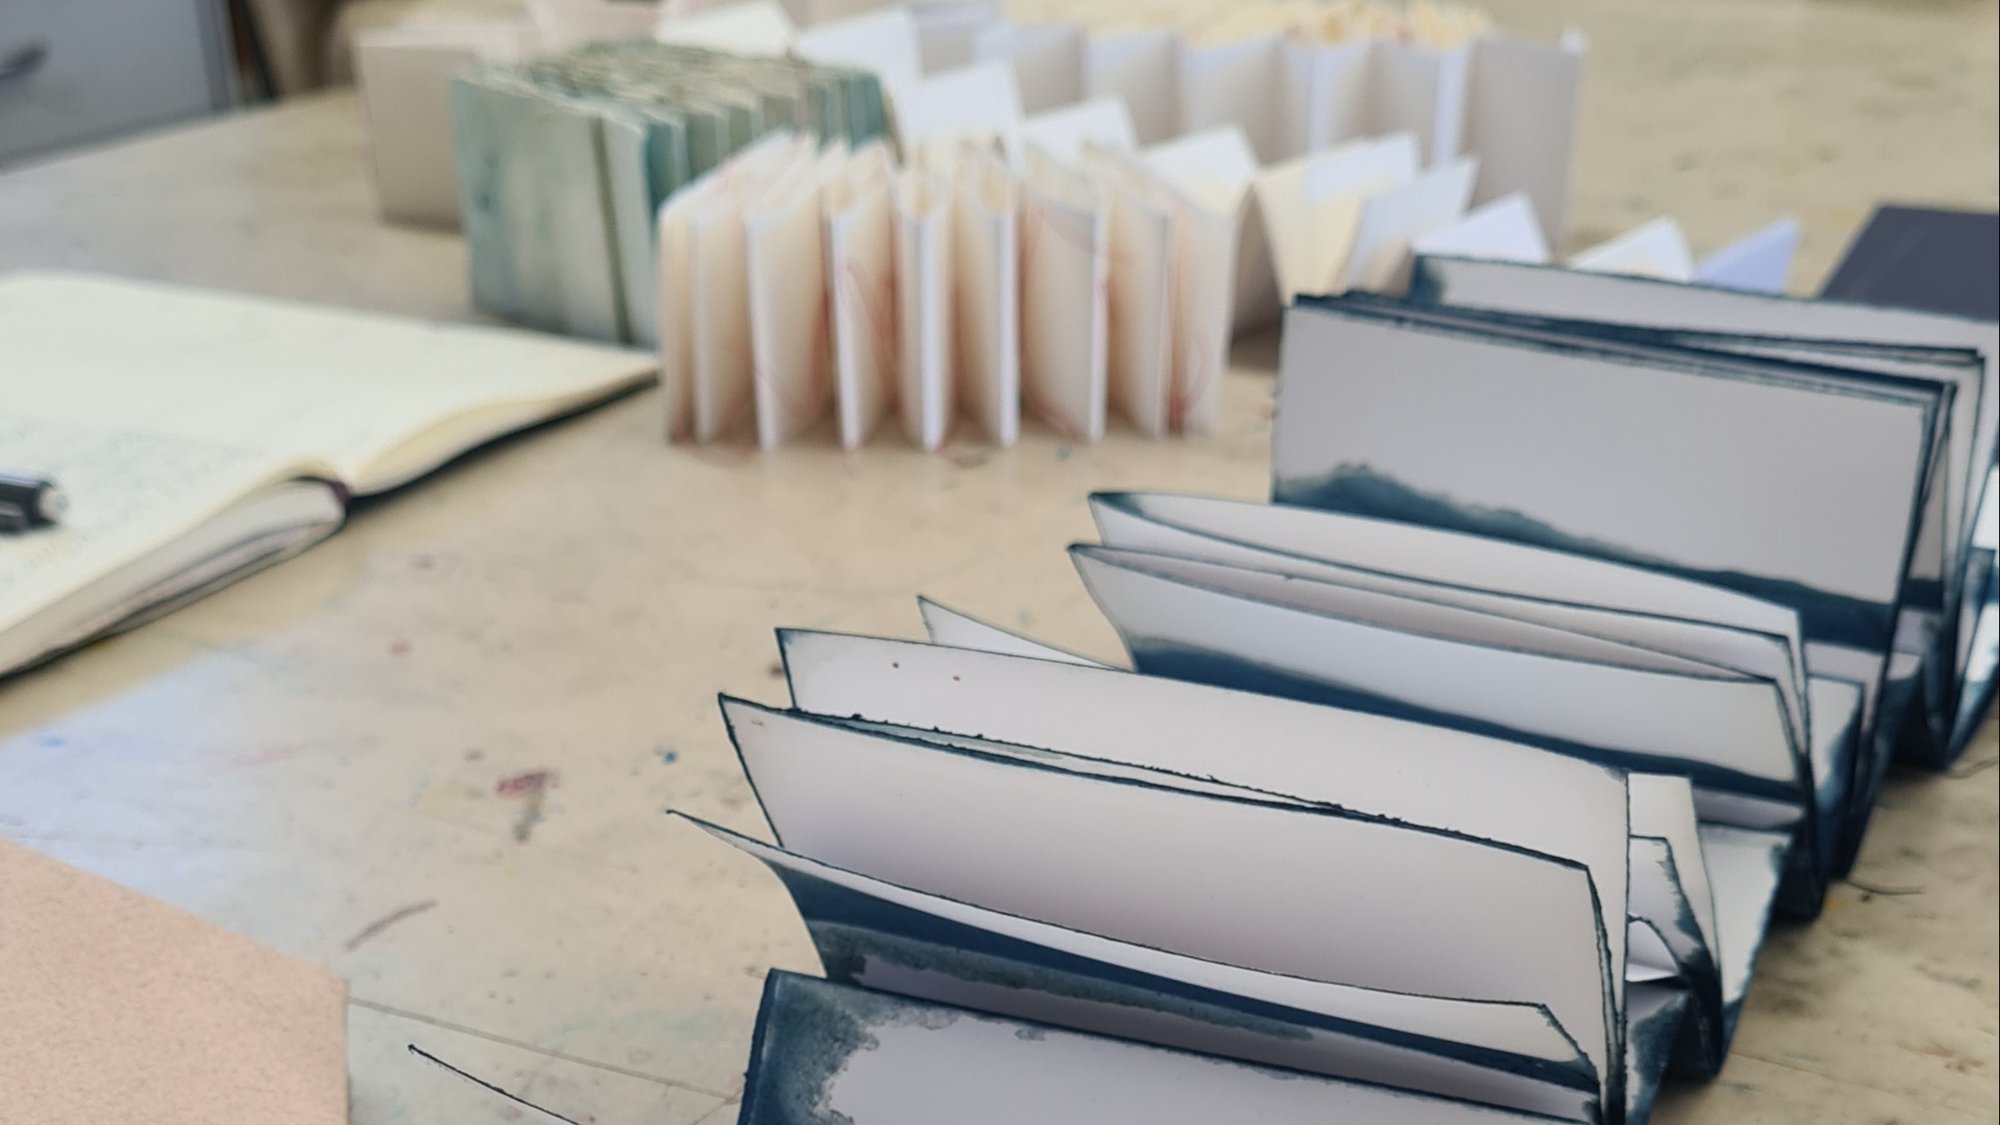
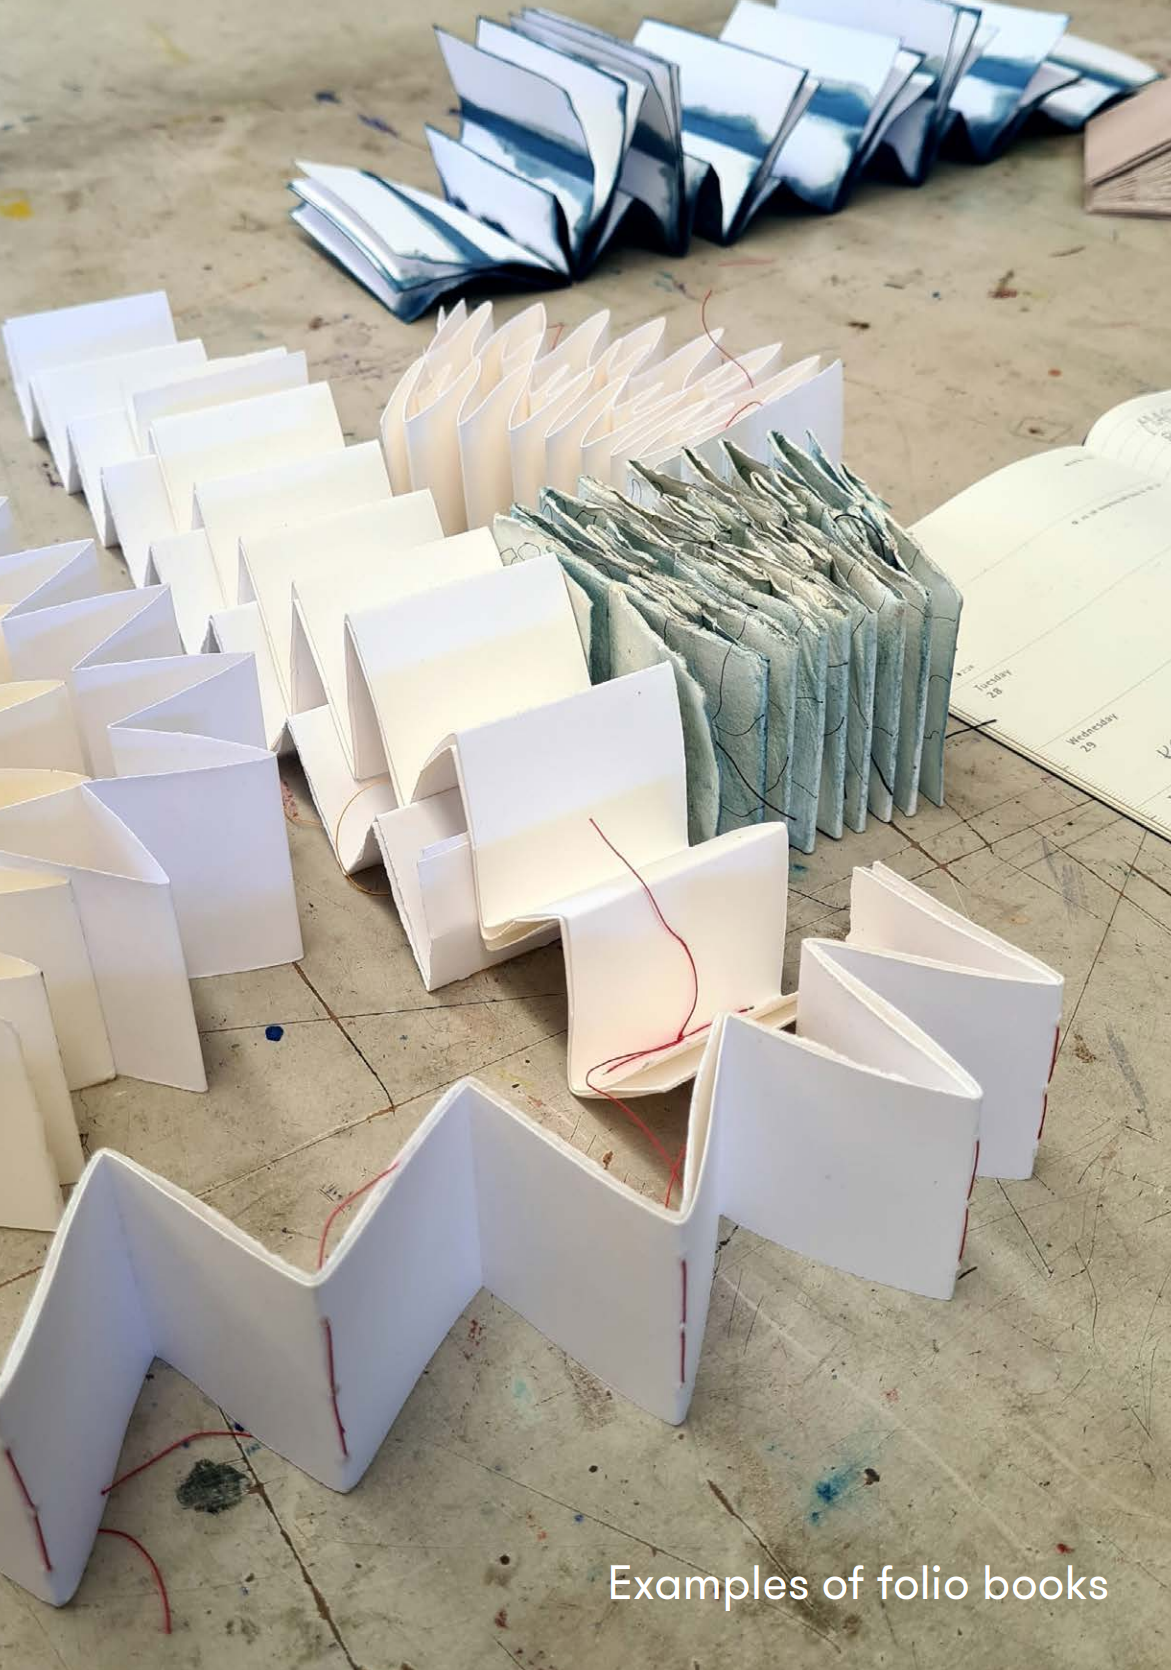
In this workshop Adele demonstrates how to make folded and hinged snake books. This style of book is great for all types of materials such as paper, cardboard, mat board, foamcore or even recycled materials.
Example one is super simple, using basic paper and limited steps. The end product is fast and simple to construct, while being effective and practical. The second example is a sewn snake book, made from a rigid material with sewn hinges.
The options are endless with these two designs. Some exciting ways to jazz up the designs is to use foamcore with printed photography, recycled materials or dyed paper. You can change the shape of the pages, even use a triangle shape if you want to experiment!
Materials for both part 1 & 2
-
Paper (any size, Adele has used A1 cartridge paper)
-
Paring Knife
-
Bone folder - optional
-
Awl for piercing holes
-
Tapestry needle size 20 or 22
-
Thread
-
Scissors
1 Folded structures
Method
PartName
Prepare Strips
-
Fold paper to desired width, crease with finger or bone
-
Cut paper
-
Repeat until you have three strips
Fold Strips
-
Fold strip in half to make a V
-
Fold each arm in half to make a W
-
Fold each section of the W in half
To do this, fold over the table and pick up folds. There should be 8 V’s in each strip. -
Repeat the process with all three strips
-
Fold one of the strips into 16 V's
-
Fold the strips together
Sew through the Strips
-
Holding the strips together, pierce 3 holes in each valley
-
One valley at a time
-
Stitch with a pamphlet stitch
-
Sew through center hole then to an end hole
-
leave a ‘whisker’
-
Sew straight to the hole at the other end
-
skipping middle hole
-
Finish the pamphlet stitch by finally sewing through the middle hole
-
The two ‘whiskers’ will be together
-
Tighten the tie and knot the whiskers
-
A reef knot works well. Right over left then left over right.
-
Repeat the holes and pamphlet stitches for all valleys
-
Turn middle sections inside out
-
Valley into a mountain. You can alternate or the same direction. Now you have a beautiful folded structure!
2 Concertina Book
Method
Concertina Book
Make the Folios
-
Lay out paper, fold in half and cut with knife
-
Continue until you have as many folios as you would like to use
Make the Spine
- Ensure the spine is made from a long strip the same height as folios. Feel free to experiment with different lengths
- Cut strip to the folio height with a knife
- Fold the spine the same way as the folded structure in previous video, each half back on itself
- Adele works with 8 sections, so she makes 8 Vs in the spine
- Place the folios in the valleys of the spine and decide how you would like the folios to sit. You can experiment with this step and make extra folios if need be.
- Remove all folios from spine
Prepare the Template
-
Create a sewing template with a spare piece of paper the same height as the folios. This is a great way to keep the stitching uniform along the spine
-
Fold the template in half lengthwise
-
Open the paper then fold in half widthways
-
Poke a hole in the middle
-
Create end holes by poking holes approximately 1cm in from the ends
-
Fold in half so two holes meet and create another two equally spaced holes
-
Poke final holes – there will be five in total
-
Working with one section at a time, place structure together to create a sandwich. Spine at the bottom, the folio in the middle and the template on top
-
Pierce through all three pieces of paper, using the holes in the template as a guide
-
Without putting the paper down, get needle and thread ready
-
Don’t forget to take the template out before sewing!
Sew
-
If you would like the whiskers on the outside, start with the center hole from the outside towards the inside. Pull the needle and thread through and leave about an inch of whisker.
-
Stitch thread through the second hole next to the middle hole.
-
Stitch through the end hole next to the second hole
-
Stitch back through the second hole
-
Skip the middle hole and going through to the second hole on the other side
-
Stitch through the end hole next to the second hole
-
Stitch back to the second hole again
-
Then finally stitch through the center hole (see diagram in booklet)
-
You should have two whiskers together
-
Tie with a reef knot, right over left, left over right
-
Repeat with each section of folios
-
Then you have a beautiful concertina folio book!